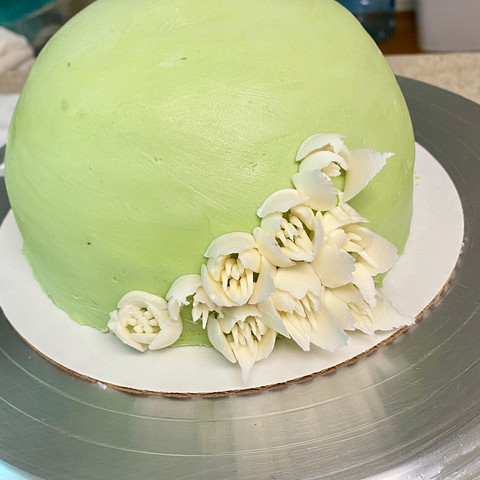
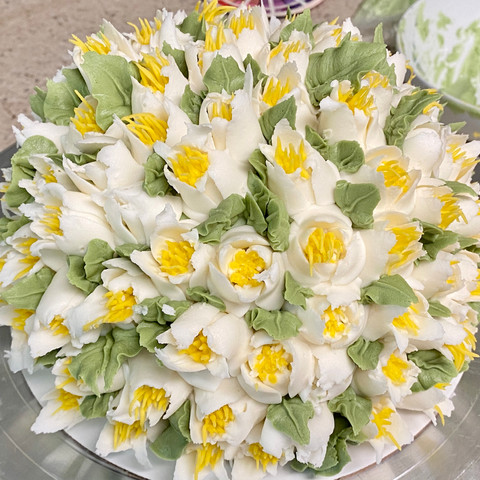
Here in Charleston, the weather has already begun to warm. There are birds in my yard, buds are showing on trees and bushes, and the promise of Spring is in the air. In the next few weeks, there will be many requests for cakes. Today, I am sharing a very easy but impressive design. Although I am showing the Spring version, this same design can be slightly altered with color and even flowers for a variety of seasons and celebrations.

This sweet cake starts with a ball pan. I'm going to admit that I often loose those little metal rings meant to hold the pan. Instead, I like to use a 6" pan to stabilize the ball pan. I use a 8" parchment round and cut slits so it easily fits the curves of the pan. They will hold about the same batter as the 6" pan.
Once the cake has baked and cooled, I torte it to 1" layers and fill and crumb coat. I put that in the fridge at least a few hours or overnight to chill. For the final frost, I use a green. This will help disguise any bare spots we have during decorating.
I love tulips. They are my favorite flower. There are 2 different Russian tips that create great tulips. You can use either. The trick with these is to have stiff enough frosting they hold shape but soft/thin enough that you can easily pipe them. Play with the consistency until you find what works best for you.

For these tulips, I am using white American Buttercream. You can use any color! Advanced skill artists can use a varied color in the piping bag. Start at the bottom and work across and up as you go. Try not to stay in a perfect row. Point the tip in different directions. In real bouquets, flowers face a variety of ways. It's ok to leave some small spaces.
Next, I use a grass tip and yellow buttercream to make the centers. Although this does add another step, it also adds great dimension to the flowers. If the buttercream is stiff enough, you will be able to easily and gently open any closed flowers and gently move them once filled. Remember, we want lots of variation.
Now, we need some leaves! I use the leaf tip and green to add lots of leaves. Fill all those empty spots, and add some between flowers.
For added depth and more realistic design, play with the colors. Mix them so they are a bit marbled or use more than one shade of the whites, yellows, and greens.
If you aren't using a cake stand, be sure to move to a covered cake drum. Use the leaf tip to fix any smudges or spaces where the cake meets the board.

I hope you enjoyed learning how I make this tulip bouquet cake. If you did, please leave a comment or "heart" the post. This way, I know you visited!


Comentários